Nissan Titan Forum banner
1 - 20 of 21 Posts

ridemaker

· Registered
Joined
·
191 Posts
Discussion starter · #1 ·
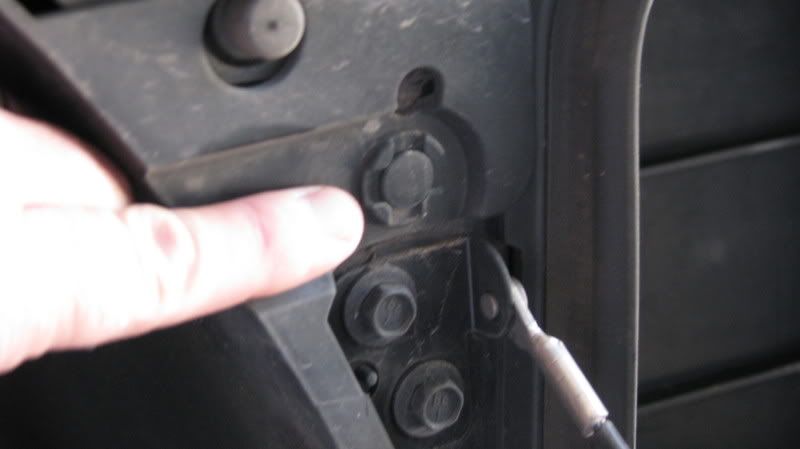
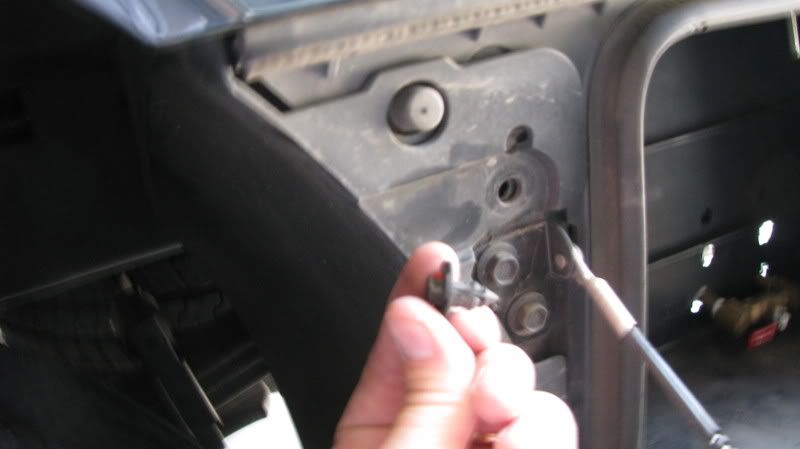
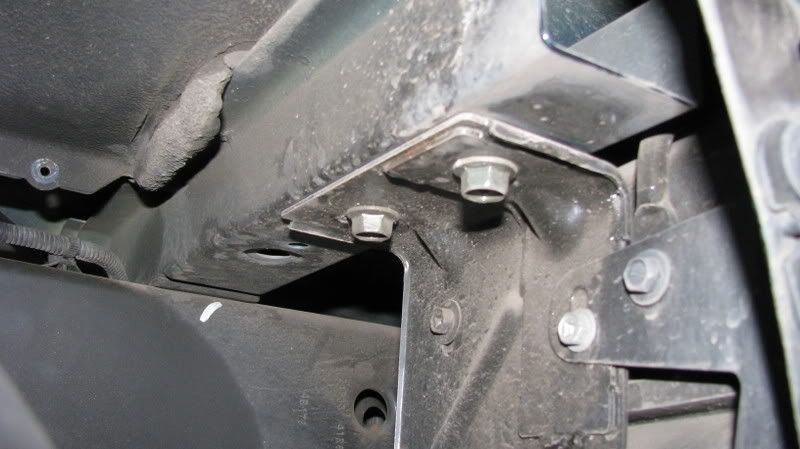
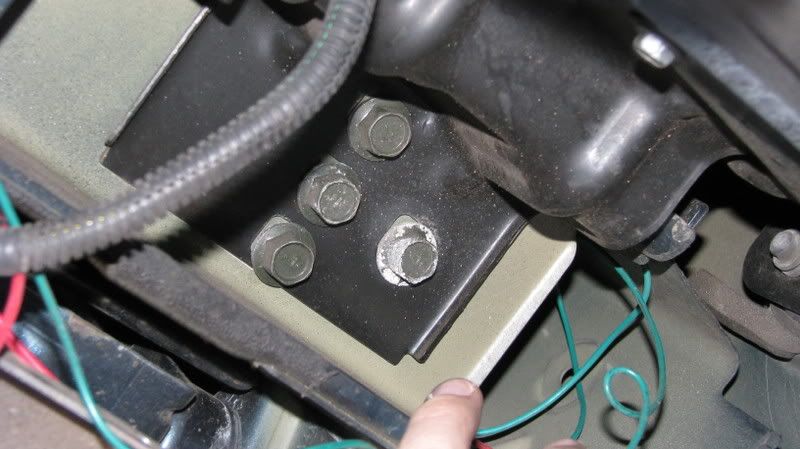
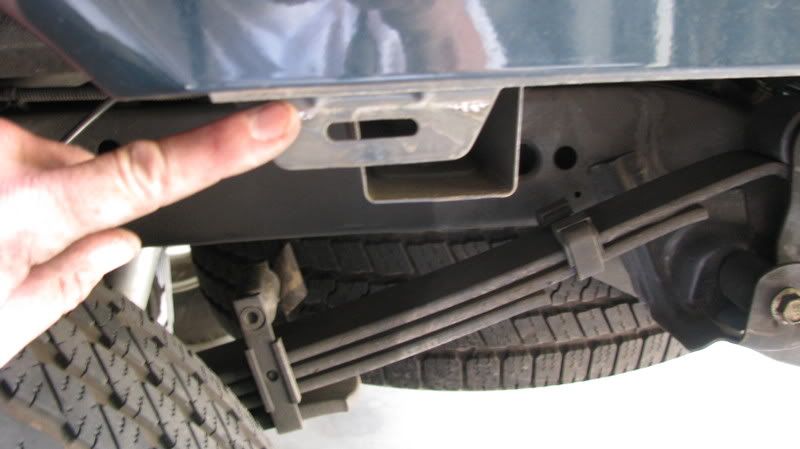
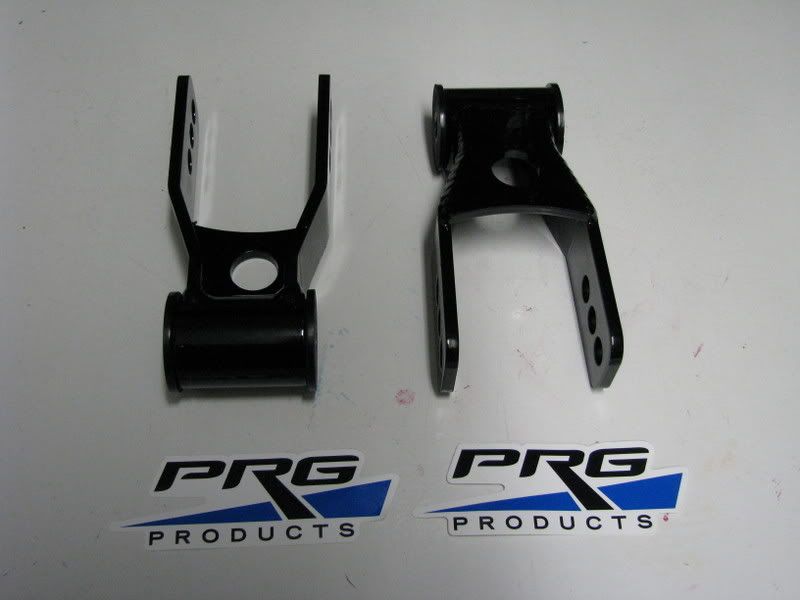
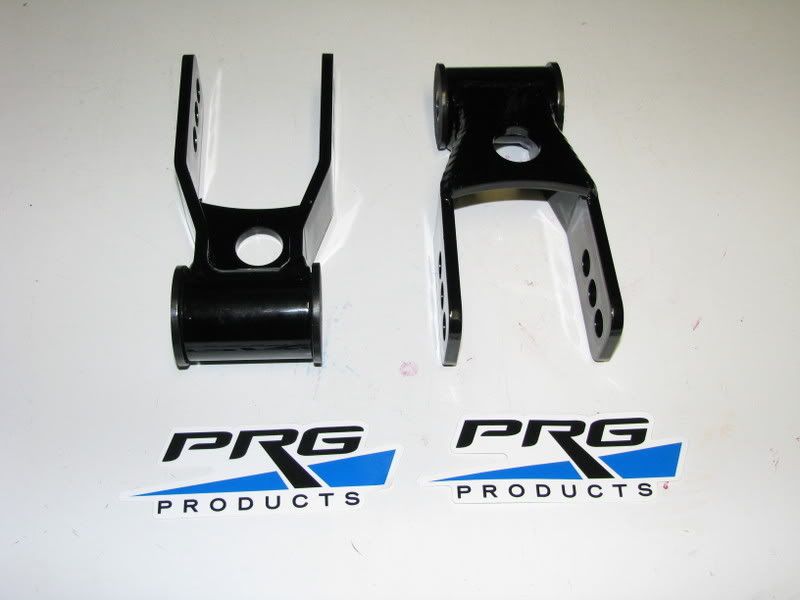
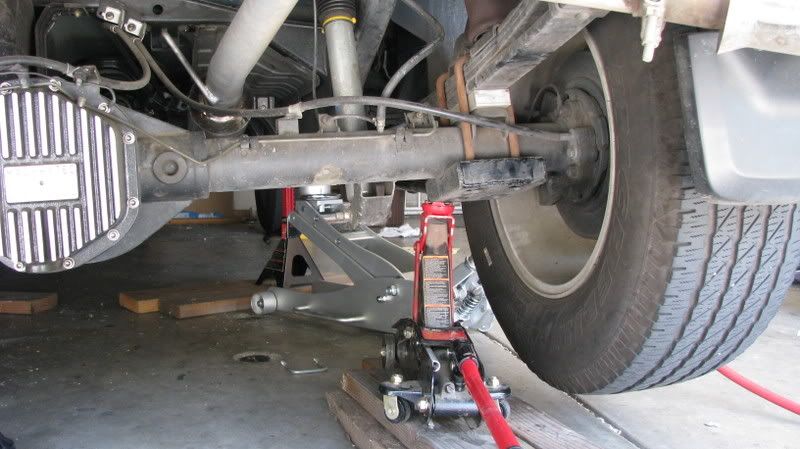
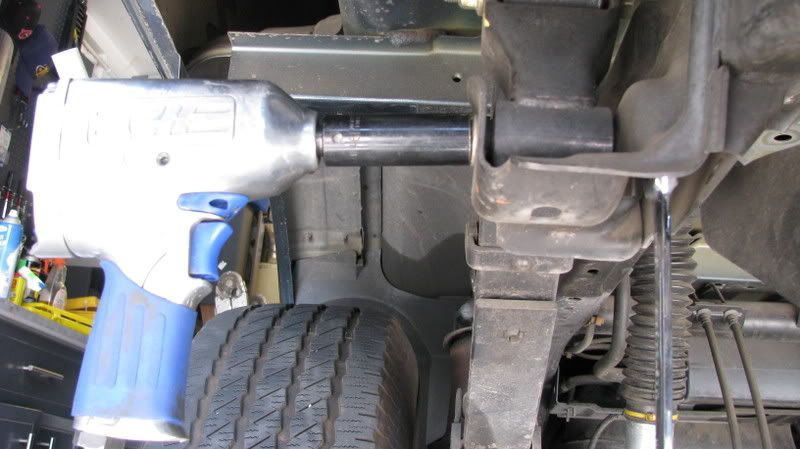
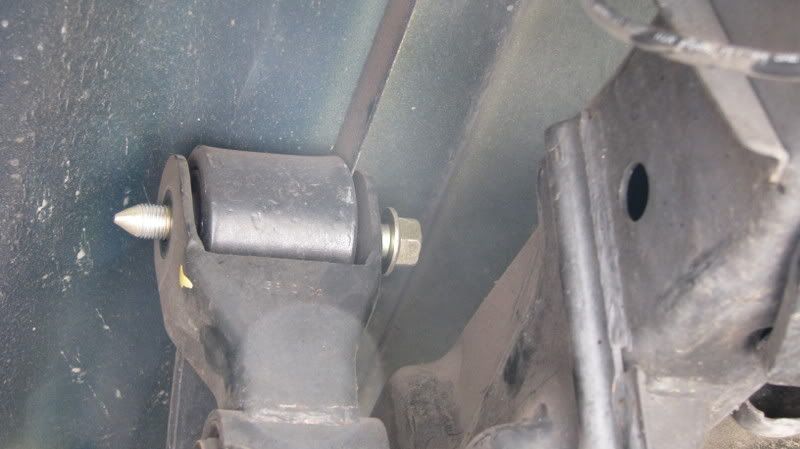
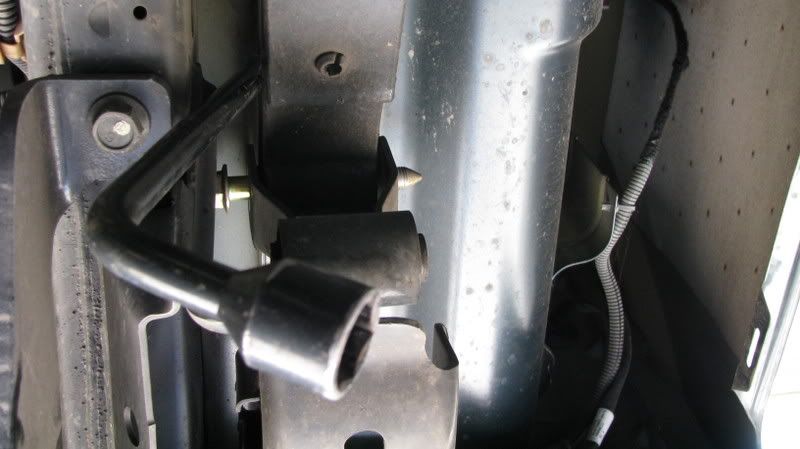
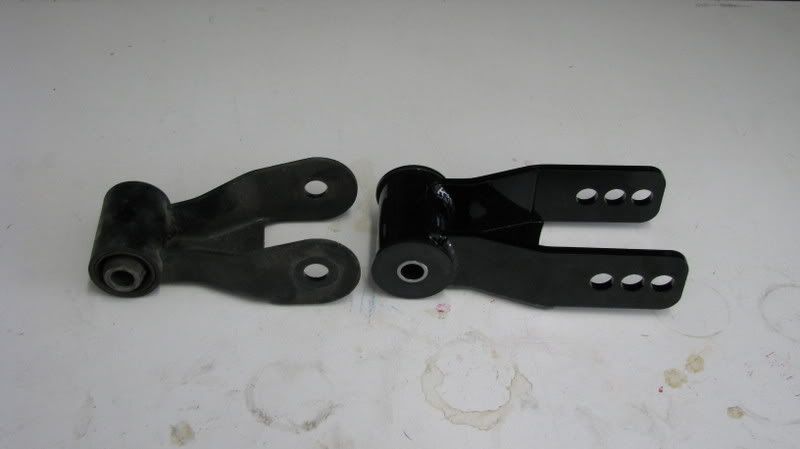
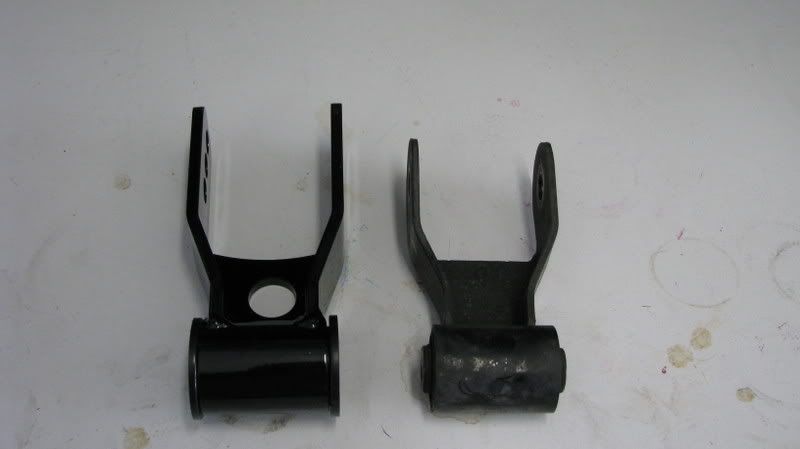
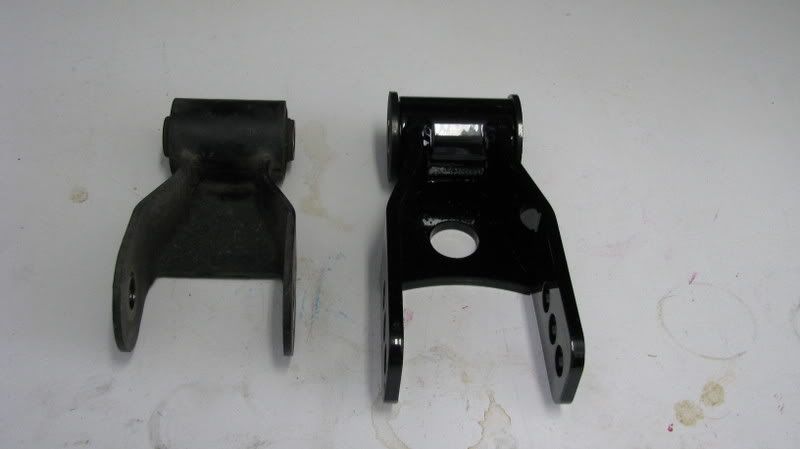
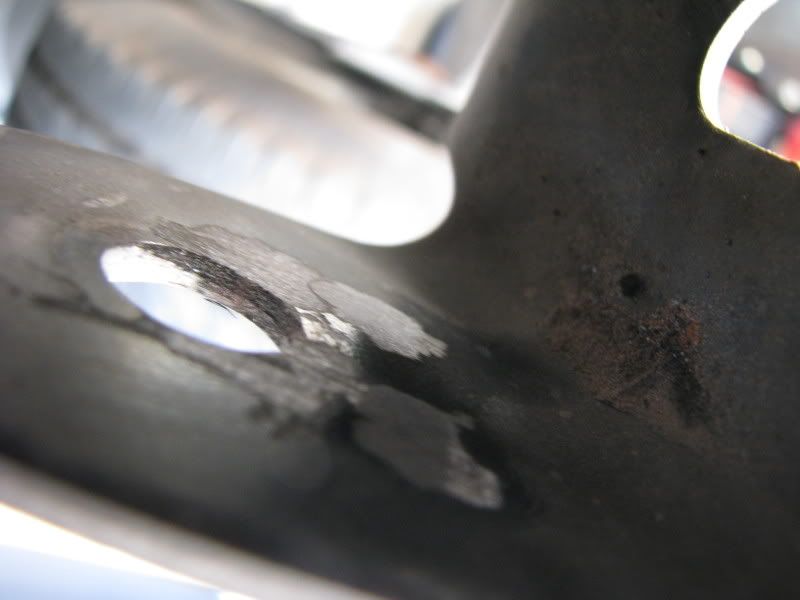
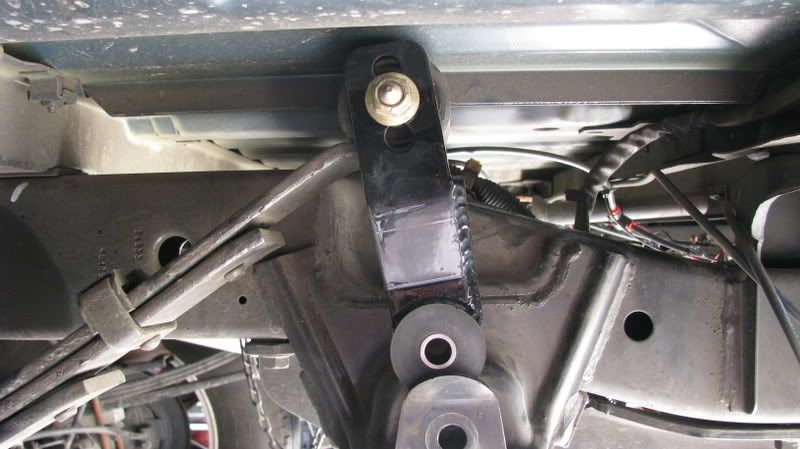
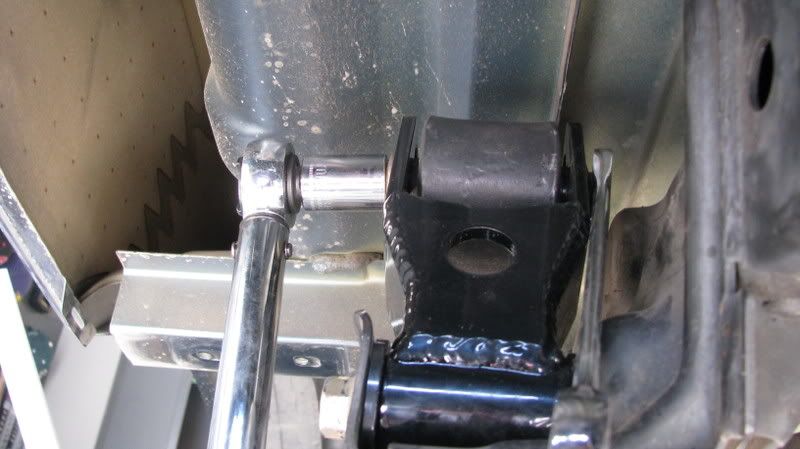
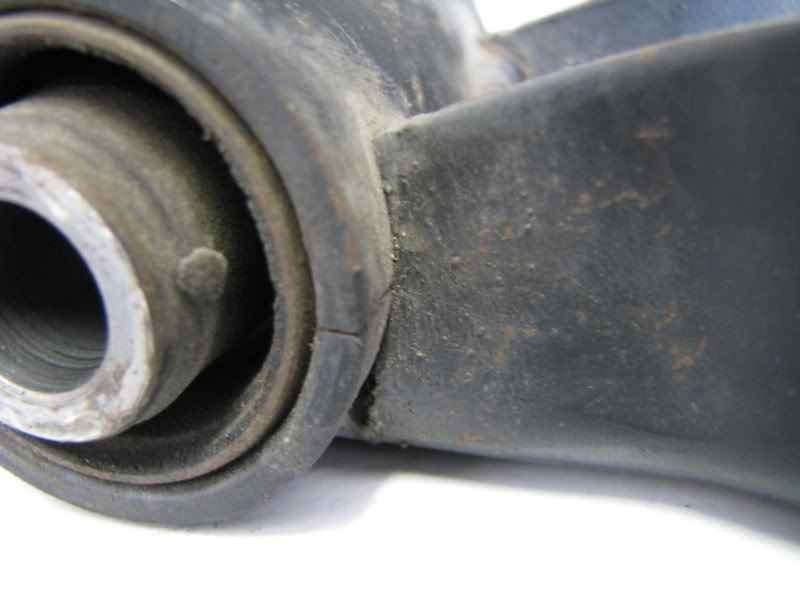
I know it looks pretty straight forward, but I work on mostly motorcycles and bicycles. I have PRG rear shackles coming next week, any one have basic installation hints..some thing that will make what looks like a hour job, and hour job.....

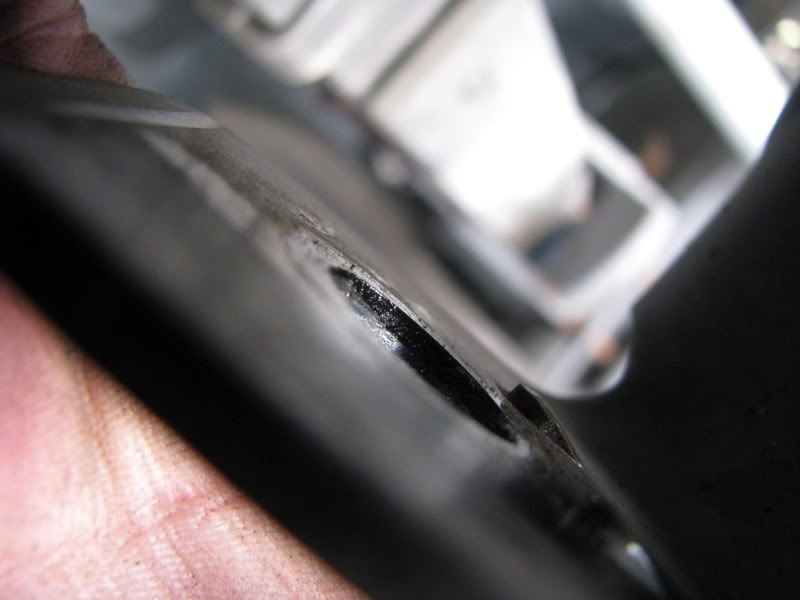
I have pneumatic tools, jack, and stands, but I know there is always something, what about the load on the leafs, do those spring out in a deadly fashion when the bolt is taken out? Thanks
 
  • Like
Reactions: ridemaker
Discussion starter · #3 ·
I guess I have to learn how to use the search button more to my advantage...
 
If you Don't have the side box, it's much easier....
 
I just don't get the beef with the box... It's 7 easy bolts. Remove 'em.. swing it outta the way. Done. What's the beef? :dunno:
 
what will wear you out is lifting the truck up and down getting tension off bolts and clearance to remove bolts. the upper bolt won't clear the frame with out lifting. when i reinstalled my bolts do it such that next time they would be easier to remove. ie. upper nuts toward the frame. if using a lowering kit pay attention to the bed seams that may need to be bent for clearance when the truck is on the ground.
 
Discussion starter · #9 ·
what will wear you out is lifting the truck up and down getting tension off bolts and clearance to remove bolts. the upper bolt won't clear the frame with out lifting. when i reinstalled my bolts do it such that next time they would be easier to remove. ie. upper nuts toward the frame. if using a lowering kit pay attention to the bed seams that may need to be bent for clearance when the truck is on the ground.
Firstly, no beef with the tool box, I was just under the impression everyone had one..it was a Titan thing it thought

Secondly HUFFHuFF thats what I was looking for....insight, experiences with these shackles...cuz obviously I haven't install them before.

Thanks again HuffHuff
 
I just don't get the beef with the box... It's 7 easy bolts. Remove 'em.. swing it outta the way. Done. What's the beef? :dunno:
Firstly, no beef with the tool box, I was just under the impression everyone had one..it was a Titan thing it thought

Secondly HUFFHuFF thats what I was looking for....insight, experiences with these shackles...cuz obviously I haven't install them before.

Thanks again HuffHuff
This might help.. Like BB said... Not very difficult.. Just takes time. And those pesky bed seams.... 2 jacks and a long pry bar (screw driver) help to move the spring pack lateraly to help with the upper bolt removal..

Anyway.... here you go...

Bed tool box removal.

Tools:
14mm socket with 4-6" extension
Flat head screwdriver
Phillips screwdriver
Needle nose pliers

First remove fender liner. 1 phillips screw and 2 tabs. Use a flathead screwdriver and gently pop the tabs out. Unscrew the phillips screw and remove fender liner.

The tabs:

First Tab..

Image


Second tab....

Image


Tab removed...

Image


The screw:

Image


Removed:

Image


There are 2 forward bolts (14mm) and 4 aft bolts (14mm) holding the box to the bed.

Remove the 2 forward bolts first.

Image


Remove the 4 aft bolts.

Image


There are 3 white retaining tabs holding the box to the bed now. 2 Tabs on top of the box and 1 tab on the aft side of the box. Using needle nose pliers pinch the tabs and push outward. Hold the box as it will drop if you dont. The box weighs around 15 lbs.

The Tabs.

Image


Image


Image


To reinstall the box line up the white tabs with the holes and push in. Then install the 6 bolts loosely and check for proper alignment of box. You may want to have someone push on the box while you tighten the bolts down so the box will stay properly aligned.

The holes for Tabs...

Image


Image


Image
[/quote]
 
That's beautiful!!!! Thanks Krh2!!!! Note: There are a pile of bolts that hold the inner liner to the box and then there are the hinge bolts... DON'T get confused and remove any of them... Just look for the bolts that hold the box bracket. Those pics should make it easier than falling asleep! :zzzz: Nicely done!
 
That's beautiful!!!! Thanks Krh2!!!! Note: There are a pile of bolts that hold the inner liner to the box and then there are the hinge bolts... DON'T get confused and remove any of them... Just look for the bolts that hold the box bracket. Those pics should make it easier than falling asleep! :zzzz: Nicely done!
Thanks! Oh, dont forget to lube the bushings/bolts with some bearing grease or sumfin similar or you will HATE yourself a few days later.. Dont ask me how I know. :teethmast

Here: a final post that may or may not help. Much like the other links but the more the merrier I always say...

K


Description

These are a super heavy duty shackle designed to replace the extremely weak and break-prone stock shackles. These shackles are almost 2" longer than stock (any longer and they would hit the bottom of the bed) and offer from 0", 1/2", or 1" of drop. These can be used for various applications: as an upgrade for stock Titans that see a lot of off roading, to lower the rear on a street truck, or to slightly offset the lift from our PRG DEAVER 3-LEAF SPRING PACKS. These come with a urethane pivot that allows for much less binding on the shackle pivot and a better overall ride compared to stock. They are pretty easy to install and only require simple hand tools, a jack, and jack stands. These come powdercoated gloss black.
Link:
http://www.prgproducts.com/shop/product/pr...titan_shackles/

The goods!

Image


Image


Shackle install.

Tools:

19mm wrench
19mm ratchet with breaker bar or 19mm socket and impact wrench
Prybar
Jack
Jack stands
Grease
Dremel tool with grinding wheel or metal file
Wood blocks (4-6 2x6's)

Chock front wheels of truck so it doesnt move.

Jack up one side of the truck using the frame so that the rear wheels are slightly off the ground. Support with jack stand. Repeat on other side of truck. Note: most jacks/jack stands dont go high enough so you may have to use wood blocks under the jack.

Image


Remove lower shackle bolt (19mm). If there is not much tension on the spring pack the bolt should work it's way out just by turning it. If you have too much tension on the spring you can releive it by either jacking the truck up higher or lower. You will know if there is some tension as the bolt will start to come out at an angle from the force of the spring.

Image


Now remove the upper shackle bolt. To get this bolt out all the way it must clear the frame. To get it to clear the frame jack up your axle thus lifting the spring pack up against the bottom of the bed. There is a seam about 3/4" deep on the bottom of the bed. If the shackle bracket hits this seem the bolt will not clear the frame. I found that using a prybar on spring while jacking up the axle I was able to guide the shackle bracket wide of the seem giving me the height I needed to remove the upper bolt. If you are thinking that you can just put the bolt in the other way upon install you cant. It will hit the frame and you wont be able to seat the nut/bolt.

Image


Using pry bar and jack to raise shackle mount/leaf high enough for the upper bolt to clear the frame.

Image


Remove shackle

OEM shackle and PRG shackle

Image


Image


Image


There are 2 locating tabs on the shackle mount that need to be ground off or they will not allow for the PRG shackle to seat properly and if not removed they will tear at the bushing on the new shackle.

Locating tabs:

Image


Locating tabs ground away. Took about 5 minutes and 2 grinding wheels with my Dremel tool.

Image


Intstall the new shackle top bolt first. Your leaf spring should still be jacked up and at the proper height to get the bolt over the frame. For the lower bolt slowly lower your jack/axle until the bottom shackle hole lines up with the shackle mount. Install bolt and nut and torgue both to 63 ft lbs...

Image


Image


For the other side you will have to jack up the axle to get the top shackle bolt hole above the frame as you did when you removed it. Install top bolt/nut and then lower the axle to line up the lower holes. Again, torque to 63 ft lbs.

Note: I dont know if this kit is supposed to come with instuctions but mine did not. Some have used bearing grease on the bushings but I was not aware of this until after the fact (thanks Steve). If my shackles start to make noise I will back the bolts out some and add grease. I am not real keen on the idea because grease and torque do not do well together. Kinda like greasing your lug nuts.

I used the middle mount hole on the PRG shackles and got roughly a 1/2" of drop on the rear. with the PRG mini lift I had a small amount of rake but now she sits level.

Some pics of the weak welds on the OEM shackles.

Image


Image


Image


Image


Image
 
Somebody mentioned just putting the top bolt in from the easy side.
IIRC, you can't do that becaust the long end will contact the frame.
There was a thread here started by BECHLYF, but I can't seem to find it.
 
Discussion starter · #15 ·
Well? When you gonna tackle this?
Haven't got the shackles yet, but got shipping info on Mon. I should get them today or tomorrow. bang it out Sat morning....
 
Seeing this just reminds me that I need to do mine also........


I've had mine collecting dust on top of my tool box for over a year now...:bangit:
 
What a slacker... :bangit:

This is about as easy to do as a leveling kit...


SLACKER!!!!! Git 'er dun!!!! :rockon
 
I've never worked on a Titan's suspension before, so how hard is a leveling kit to install?:rolleyes:
 
Silly Jeep people... :bang:

When will they learn? :lol:
 
Discussion starter · #20 ·
Well? When you gonna tackle this?
NO shackles delivered.....tracking put them here on the east coast but not at my door.

Bummer :crying:I wanted to install them today

Regardless thanks to everyone for the insight, its all going to help when installing them
 
1 - 20 of 21 Posts